We recently had the opportunity to work on some very rare and valuable Halibrand & EDCO calipers. These are fitted to a 50’s era American sprint car which has been converted for Historic circuit racing and Hillclimb events. It was an interesting journey, and we learnt a great deal. Here’s the story.
The Battle of the Leaks
Written by Cameron Parker
Halibrand & EDCO Calipers
I could almost bet you haven’t seen either of these calipers before. I mean, I tried to Google EDCO calipers and mostly only saw results for bicycle brakes. The best we know about the EDCO brand is that they were manufactured in the USA in the 1950’s and 1960’s for racing use. At least for the Halibrand calipers you can see a few more results. Used on Sprint, Midget and Indy cars and later popular in the Hotrod community. Although still rare!

Ted Halibrand
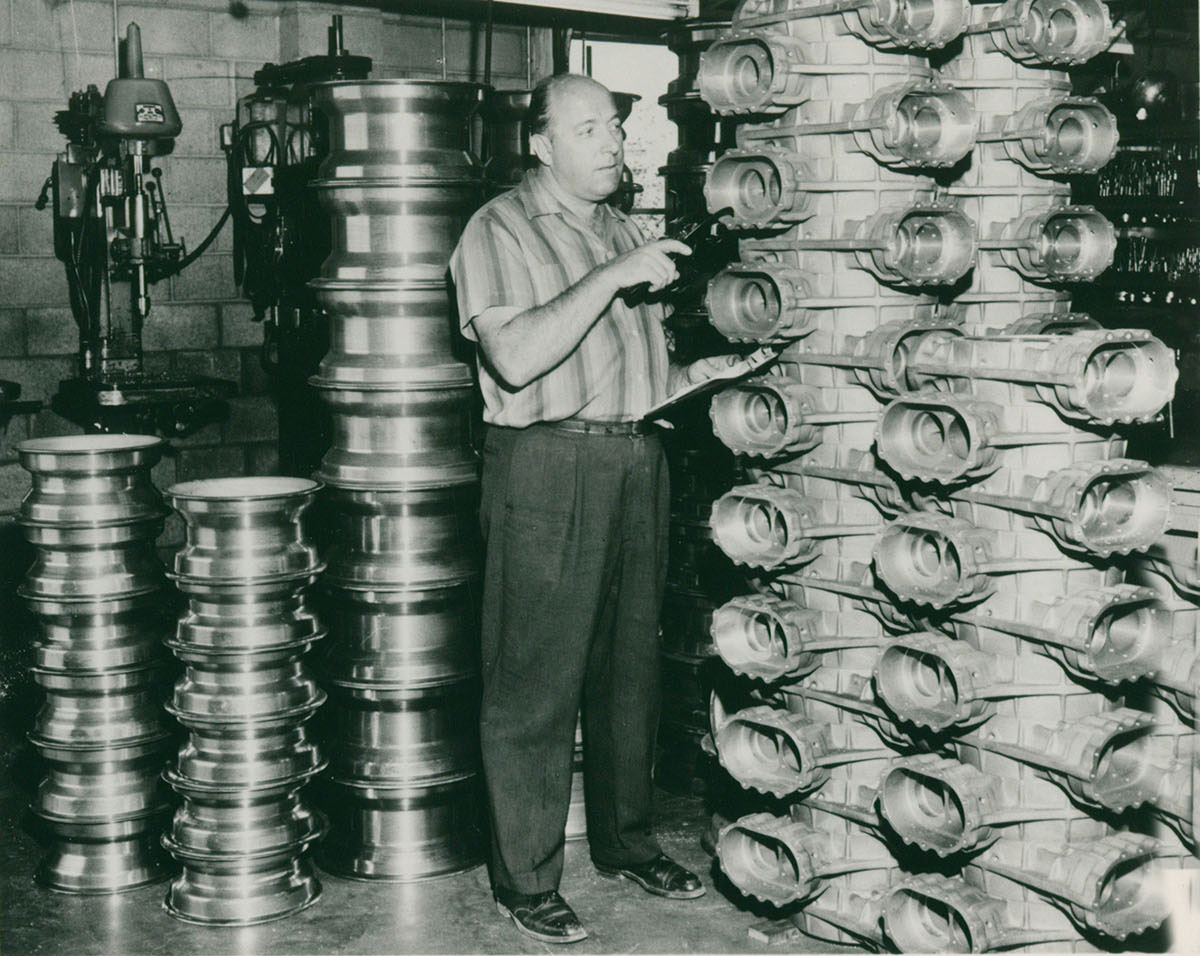
Ted Halibrand, originally an Aircraft Engineer made his mark in the automotive world which still stands today. Have you ever referred to alloy wheels as “Mags”? Of course you have, we all do, though it’s not technically correct for modern street alloy wheels. Arguably, Ted is the reason for the term “Mag Wheels” when he applied his knowledge of using magnesium for aircraft parts to race car parts. Racers in the day were making midget wheels by welding Model T brake drums to 12” diameter rims. Ted knew he could do better by making single piece magnesium wheels which would be stronger and lighter. Halibrand Engineering was born.
The Calipers
The Halibrand calipers came to us from a customer who has been tinkering with American 50’s era racecars for many years. In-fact, it saw him poached for his skills to live and work in the UK for a wealthy owner of many vintage race cars. The job, maintain and manage the cars for such events like Goodwood Festival of Speed & Le Mans Classic. A dream of mine to see one day.
He lived and worked in the USA for many years and now has a couple of these early American racecars himself. With a collection of Halibrand calipers he’s accumulated over the years, the plan is to restore these rare calipers to their former glory and fit them front and rear of his sprint car. With a clean slate and calipers that have never been rebuilt before we can apply best sleeving practices. You’ll find out more why this is important later in the article.
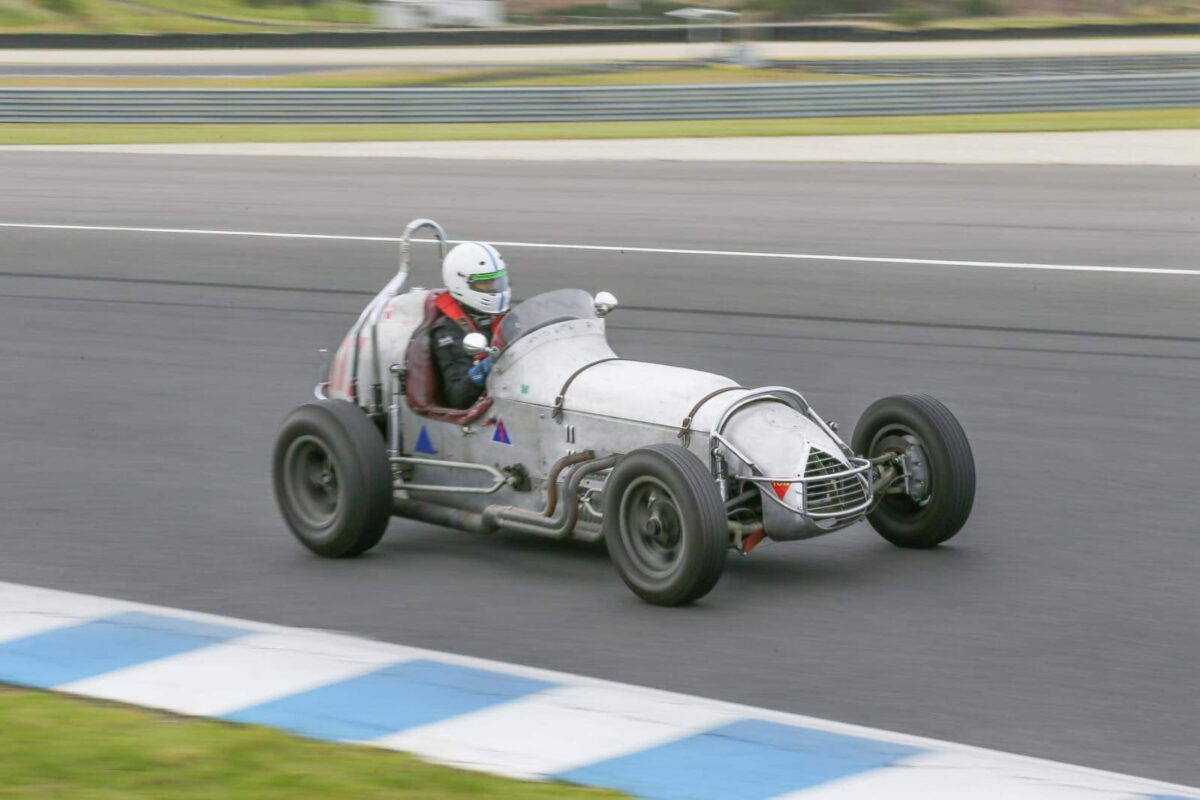
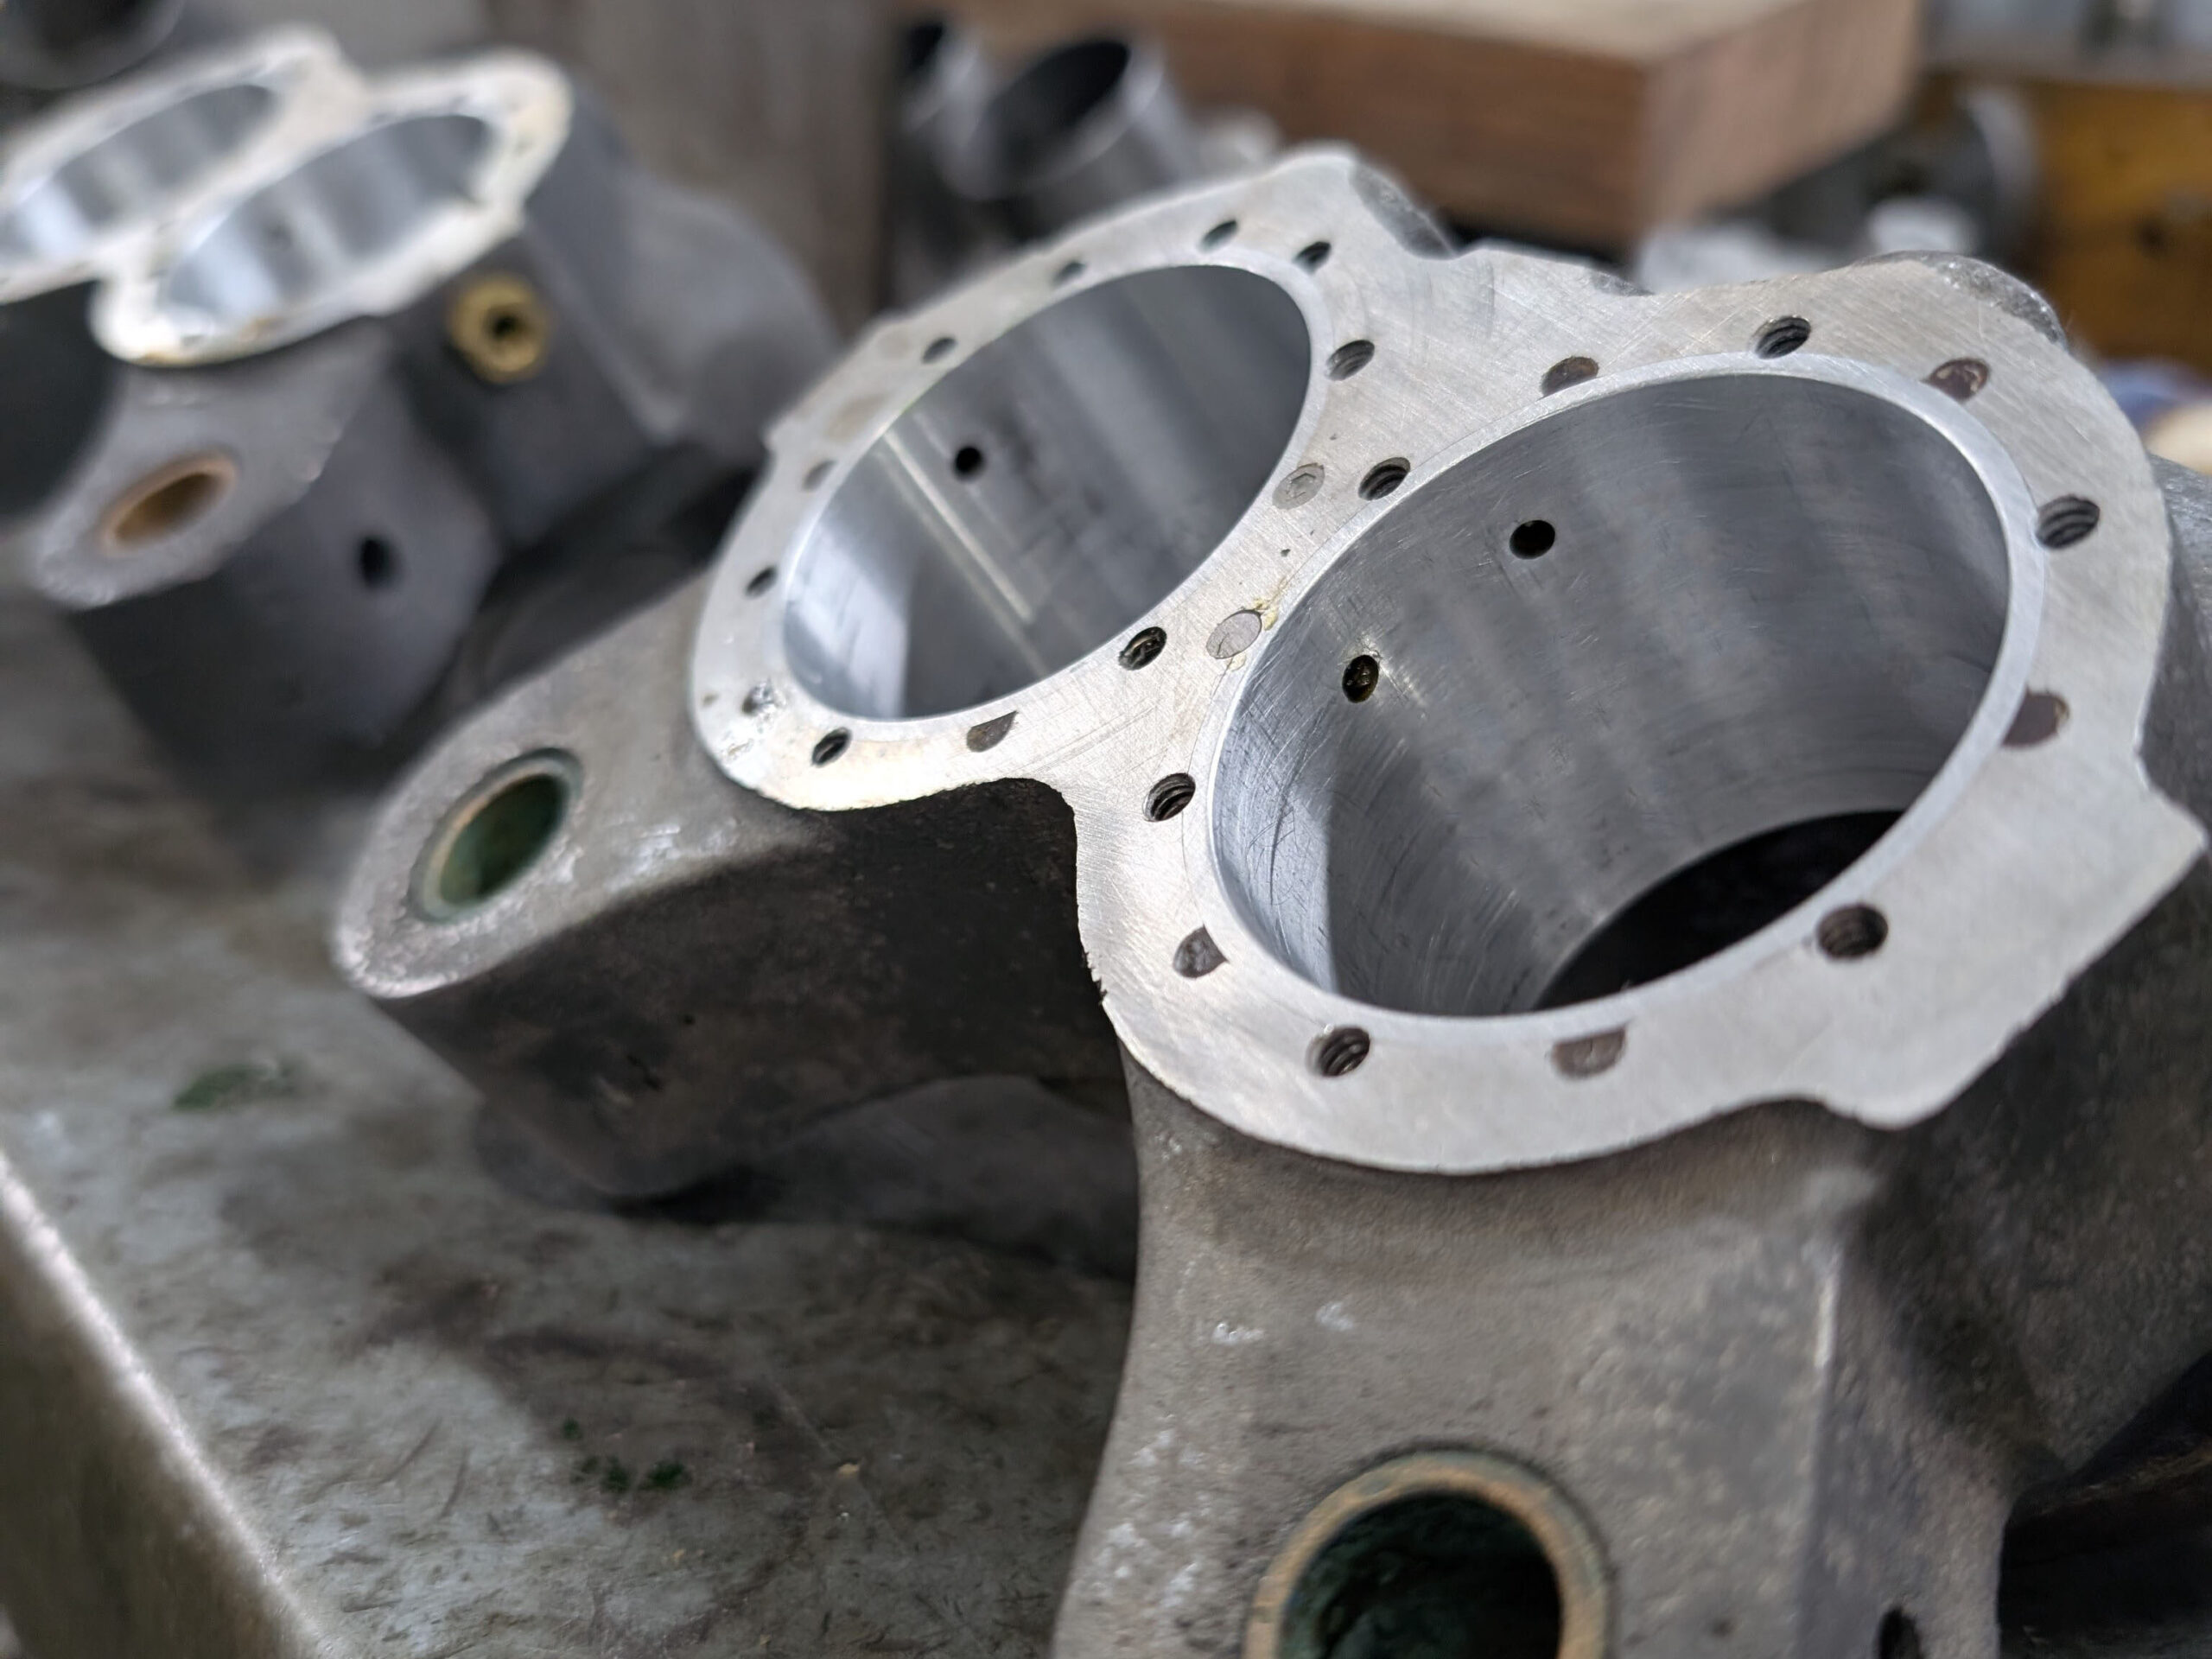
In the process of rebuilding the Halibrand calipers, our customer referred another owner of a similar American Sprint Car (seen above), capable of hitting speeds up to 165mph (265km/h) gear ratio dependent. These brake work hard! A total overhaul of both front and rears caliper was necessary before some upcoming races. The fronts being the 6 piston EDCO calipers and twin piston rear Halibrand calipers. The EDCO calipers had never seen any major work. The Halibrand’s had seen some previous (questionable) re-sleeving work. And so, the saga begins…….
The Fronts – EDCO
Assessment
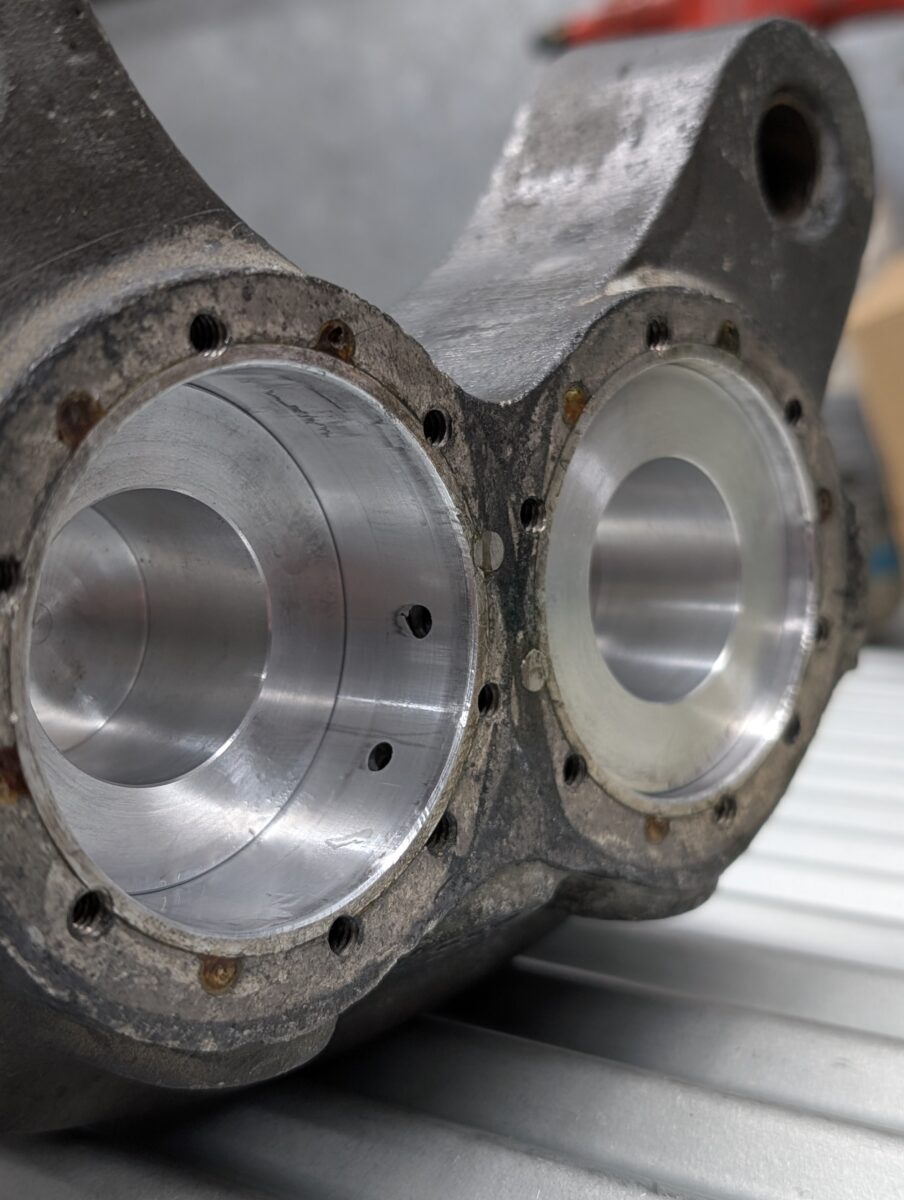
Measured piston to bore clearance. Pistons = 1.615″ (41.02mm) Bores = 1.626″ (41.3mm). These 6 piston Edco calipers had never been sleeved before but had .011″ (.28mm) piston to bore clearance which is excessive in this style of caliper which uses a seal on the piston.
Conclusion
Piston to bore clearance is excessive for this style of caliper where the seals run on the piston. The alloy housings show heavy corrosion where the seal operates. Re-sleeving necessary.
The hope for no leaks!
Inspection showed no evidence of remanufacture on these EDCO calipers. Which is the best place to start for us. It means we can follow “best practice” and leverage our 25 years of remanufacturing knowledge to get it right. There was nothing necessarily “bad” with the calipers either. They were just a bit worn and leaky.
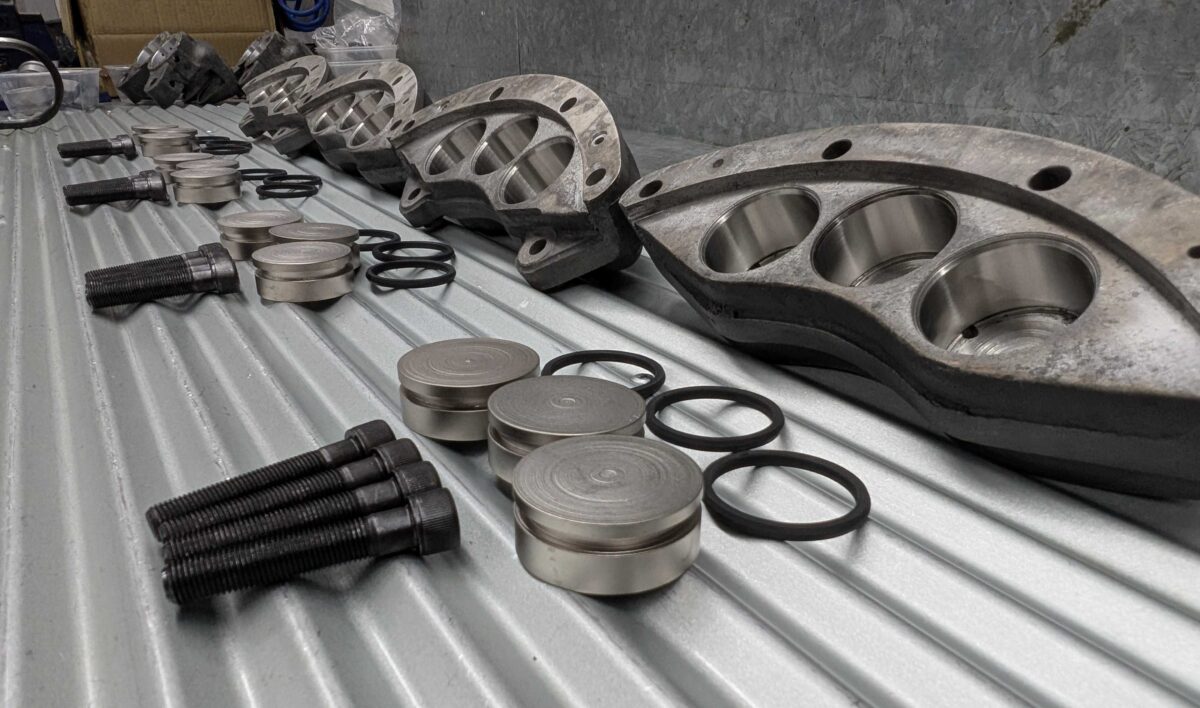
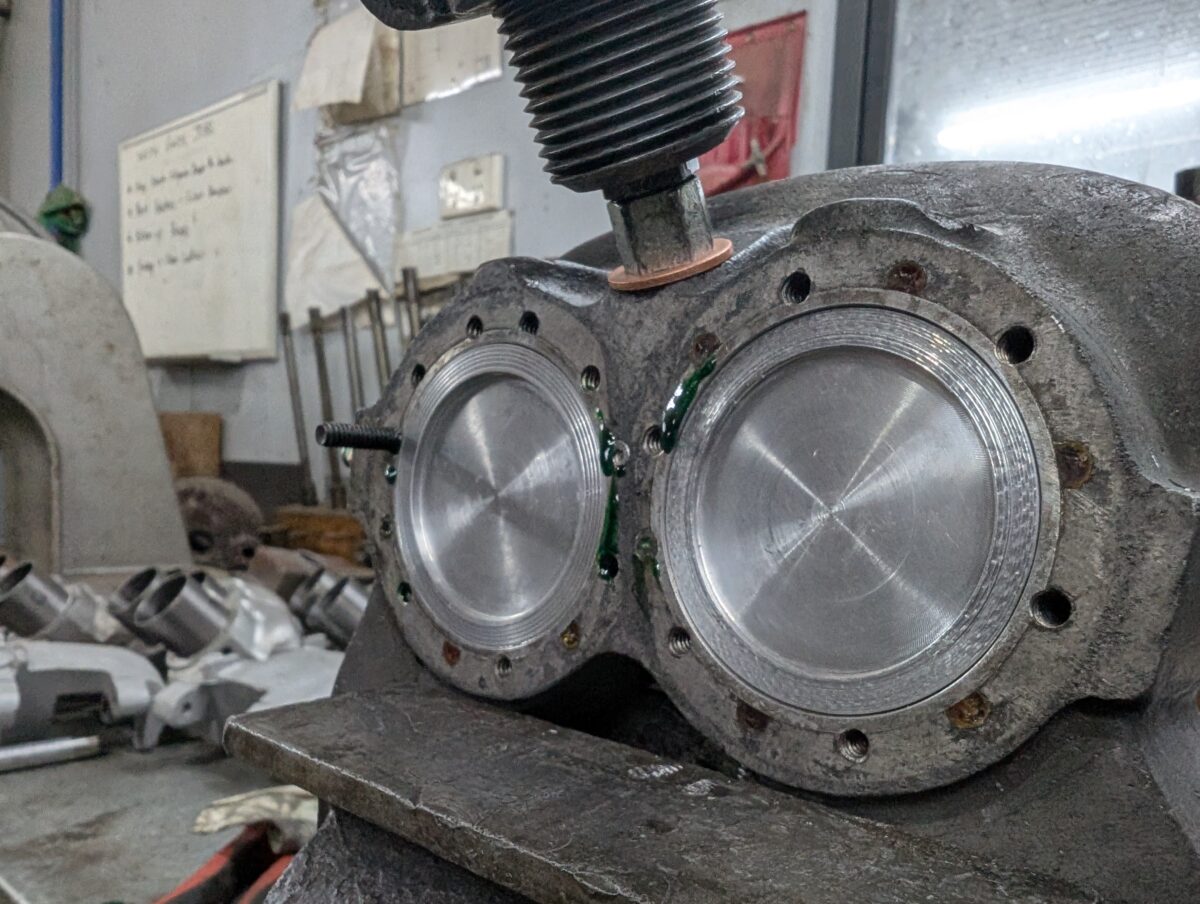
The first step after dismantling and cleaning process was to resleeve the bores to restore them to factory tolerances. We bored the caliper halves and re-sleeved them with a seamless 304 stainless sleeve to restore the original bore size.


We machined 12 new pistons in mild steel and had them coated with Nedox which is a hard wearing coating used by NASA. The goal was to achieve maximum .004″ (.1mm) piston to bore clearance.


Next, we assembled the calipers with machined seals supplied by customer.
After assembly we mounted the calipers on a hydraulic test bench and tested to 1600 psi. The calipers held pressure but after a few minutes the housings started weeping fluid from the body indicating porosity in the castings. After doing some research, we were advised to use an injection process where a Loctite product is impregnated in the pores of the casting under vacuum to rectify casting porosity issues. The supplier Alliance Connect, in Melbourne, uses this process mostly on engine head and block applications, but it can be used on any sort of casting. After the process was completed, we reassembled and tested to 1600 psi……porosity problem solved. The EDCO calipers were now complete and ready for racing. Onto the rears…
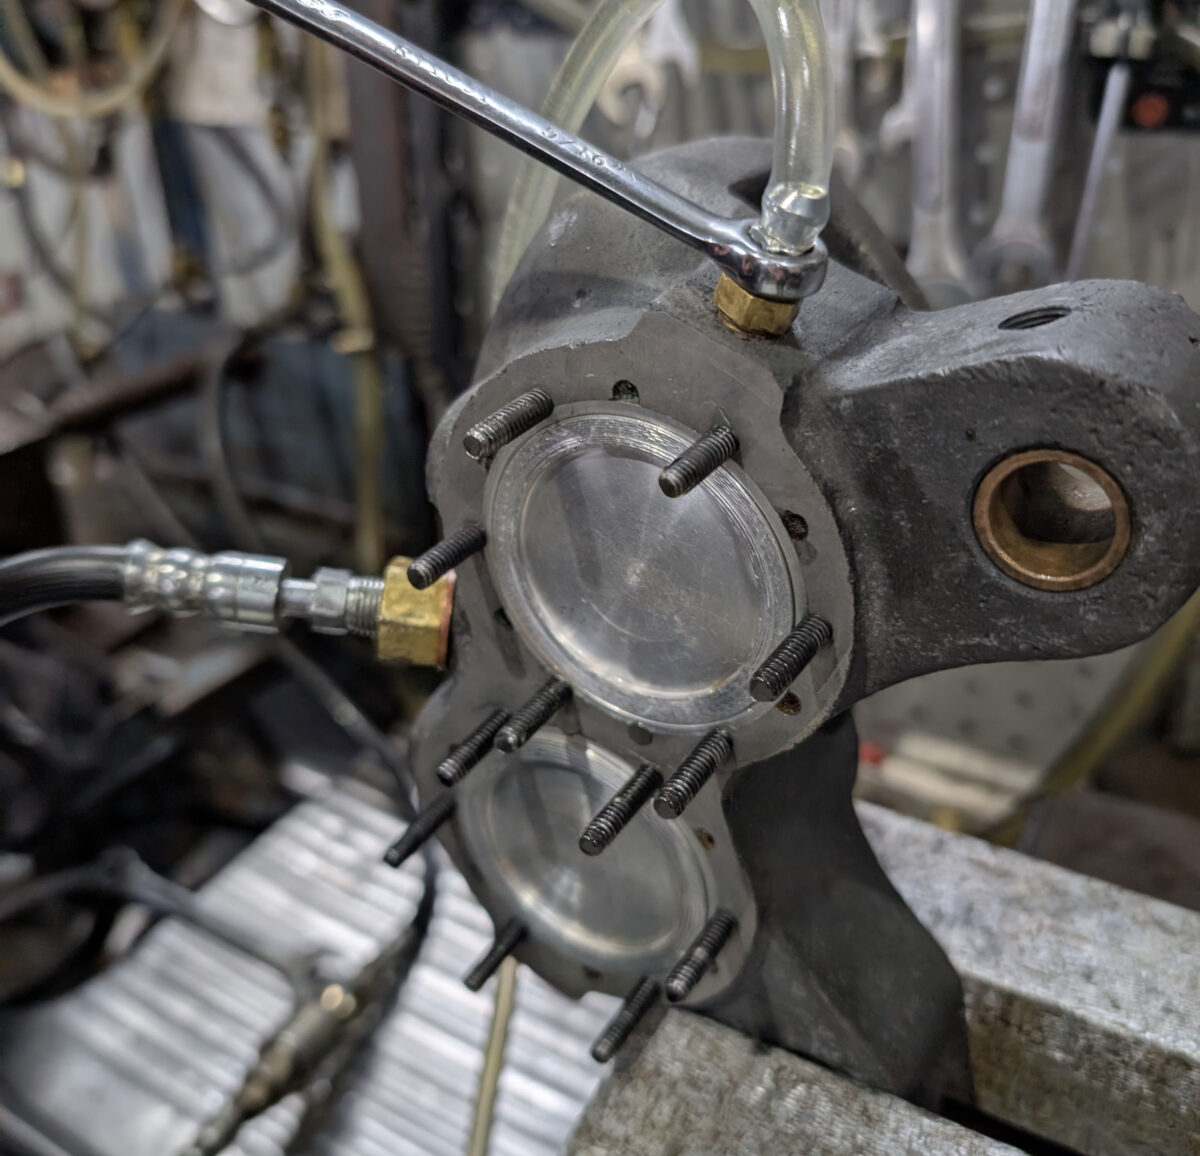
The Rears – Halibrand
Assessment:
Previously sleeved and leaking badly. Measured piston to bore clearance. Piston = 2.113″ (53.67mm) Bore = 2.145″ (54.48mm). Despite being previously sleeved these calipers had 0.032″(.81mm) piston to bore clearance!
Conclusion:
Excessive piston to bore clearance, causing a seal leak via the piston and back-plate.
The Battle Begins
The previous sleeving method prevented us from re-sleeving the calipers. To save the calipers, we decided the best way to go was to manufacture new pistons to the correct tolerances required.
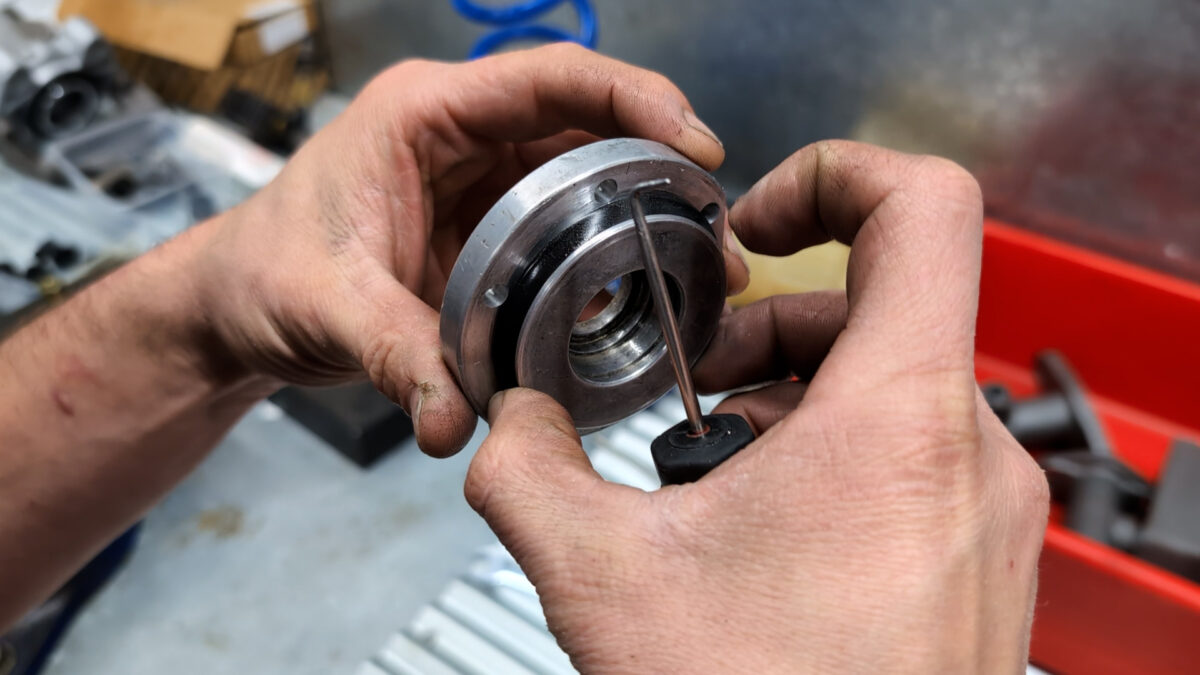
We assembled the new pistons with the Nedox coated internal mechanisms and the machined seals supplied by the customer. Mounted them to the test bench and found fluid leaking around the back-plates. After disassembly, we found the O-Rings supplied for the back-plates did not have enough protrusion to seal on the bores due to the bores being oversize.
To overcome this, we had some custom 46x4mm O-Rings machined. Reassembled and retested. Now we had multiple leaks around between the sleeves, the drilled holes in the rear of the housings and the pores in the old Magnesium casting were now leaking!
Fluid from everywhere
We dismantled the calipers, cleaned and sent to Alliance Connect, hoping their vacuum impregnation process would not only fix the porosity, but also the sleeve leaks. Re-assembled and retested. We fixed the porosity, but multiple leaks remained around the old sleeves and the re-drilled back-plate bolt holes. What we found was one of the new bolt holes was a straight through line to the bleeder port! Testing the calipers with mandrels showed this and allowed us to bleed and operate the calipers at pressure without the back-plates fitted. The brake fluid was pouring out.
In a last ditch bid to salvage the calipers we glued and inserted a stud into that bolt hole on both calipers. We then used our own injection process to inject glue into the castings under pressure. You can see the glue oozing out where we had fluid leaks.
After yet another re-assemble and test, amazingly we still had leaks! Pulled the back-plates off and inserted mandrels. Confirmed there were no more sleeve leaks or any leaks from the new studs. We finally defeated all leaks but one. Where and how can we still have a leak if it doesn’t leak with the backplates off?
We understand how critical piston to bore clearances are for the main piston seals. But the original “re-sleever” still missed two more critical elements unique to these calipers. The first is back-plate to bore clearance.
Not Piston to Bore, it’s Back-Plate to Bore!
As mentioned earlier, and just like the pistons, we had to make new O-Rings for the back plates. But we were still pushing the limits of an O-Rings ability to hold full fluid pressure given the excessive clearance. So, we tried a lip-type seal.
But still, it was leaking from the back plates, which was almost unbelievable!
Next, we machined off the original O-Ring groove and machined a new boss with now only 4 thou (.004 .1mm) clearance compared to 25 thou clearance! The idea is that we now aren’t pushing the O-Ring’s sealing capabilities and are within the allowable specifications of what an O-Ring can seal. Mounted up…Still leaked! This now leads us to the second critical consideration…the trueness of the bores in relation to mounting face.

A True Bore
When we screwed down the back-plates, we saw a leak. When we backed off all the bolts a 1/4 turn, the leaks stopped. This puzzled us for a second until we realised, the bores were not parallel to the mounting face. A feeler gauge confirmed how far it was out by. With fluid pressure held on and no leaks, the feeler gauge was showing 10 thou difference from one side to the other. That, plus the excessive bore clearance meant we are fighting a losing battle.

With a new plan, we sent both calipers to have the mounting faces milled true to the bores. Surely this will solve the problem. There are no leaks with the mandrels in, there’s only have leaks when we tighten the backplates on. We assume the backplate kicks crooked at that point and creates a leak.
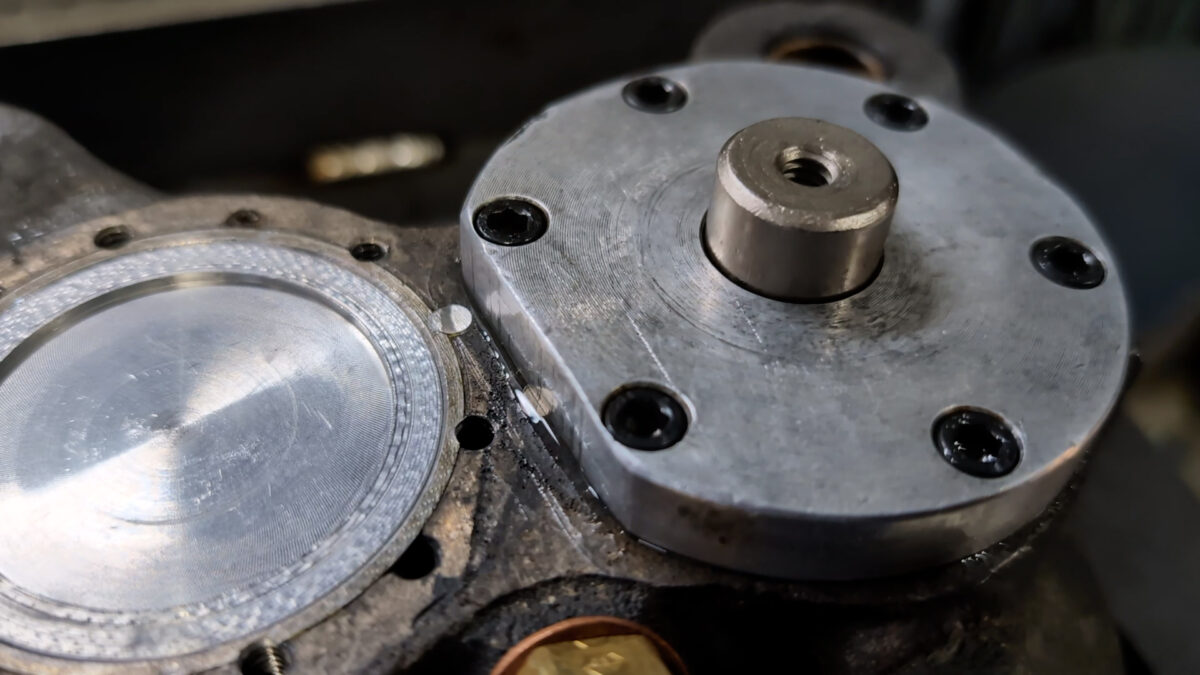
Another theory we had was because the re-drilled bolt holes are half in the body, and half in the sleeve (as seen above), when we screwed in the backplate bolts the force must go somewhere right? It could very well be separating the sleeve from the body, causing a sleeve leak. With new studs in, re-injected, mandrels in and confirmed, no leaks! But, again, when we bolted the backplates on, it leaked. We are now at an absolute loss and completely stumped! How could it still leak?
The final push – the week of the race!
We’ve now entered the last week to sort these rear calipers for our customer, whose race (Winton Festival of Speed) starts Friday. So, we had 4 days left to work something out or it was game over, the pressure was on! Coming together we figured it must be the re-drilled bolt holes, and despite the studs shifting the force form the threads in the body to the nut on the backplate face, it’s still pulling up on those studs and therefore, the threads in the body.
We know there was only one spot the leak was coming from and could somewhat at a guess, choose which stud was leaking. Loosening that nut stopped the leak! Just like that! 5 of the six nuts on each backplate was tight, bar one. This also was just on one of the calipers. The other caliper no longer had leaks.
So, what do we do? We made a plan and discussed it with the customer. We will Loctite that one nut at finger-tight and fit a serrated lock-washer under all the nuts. The car luckily runs a twin circuit master cylinder meaning at absolute worst-case scenario in the event of rear caliper failure, he’ll still have the front calipers. But the fact is, we are talking only one nut of the twelve finger tight which in-fact was stopping the leak. The risks were low, but we still told the customer this is only a temporary solution and that they should source new calipers.

Race Day
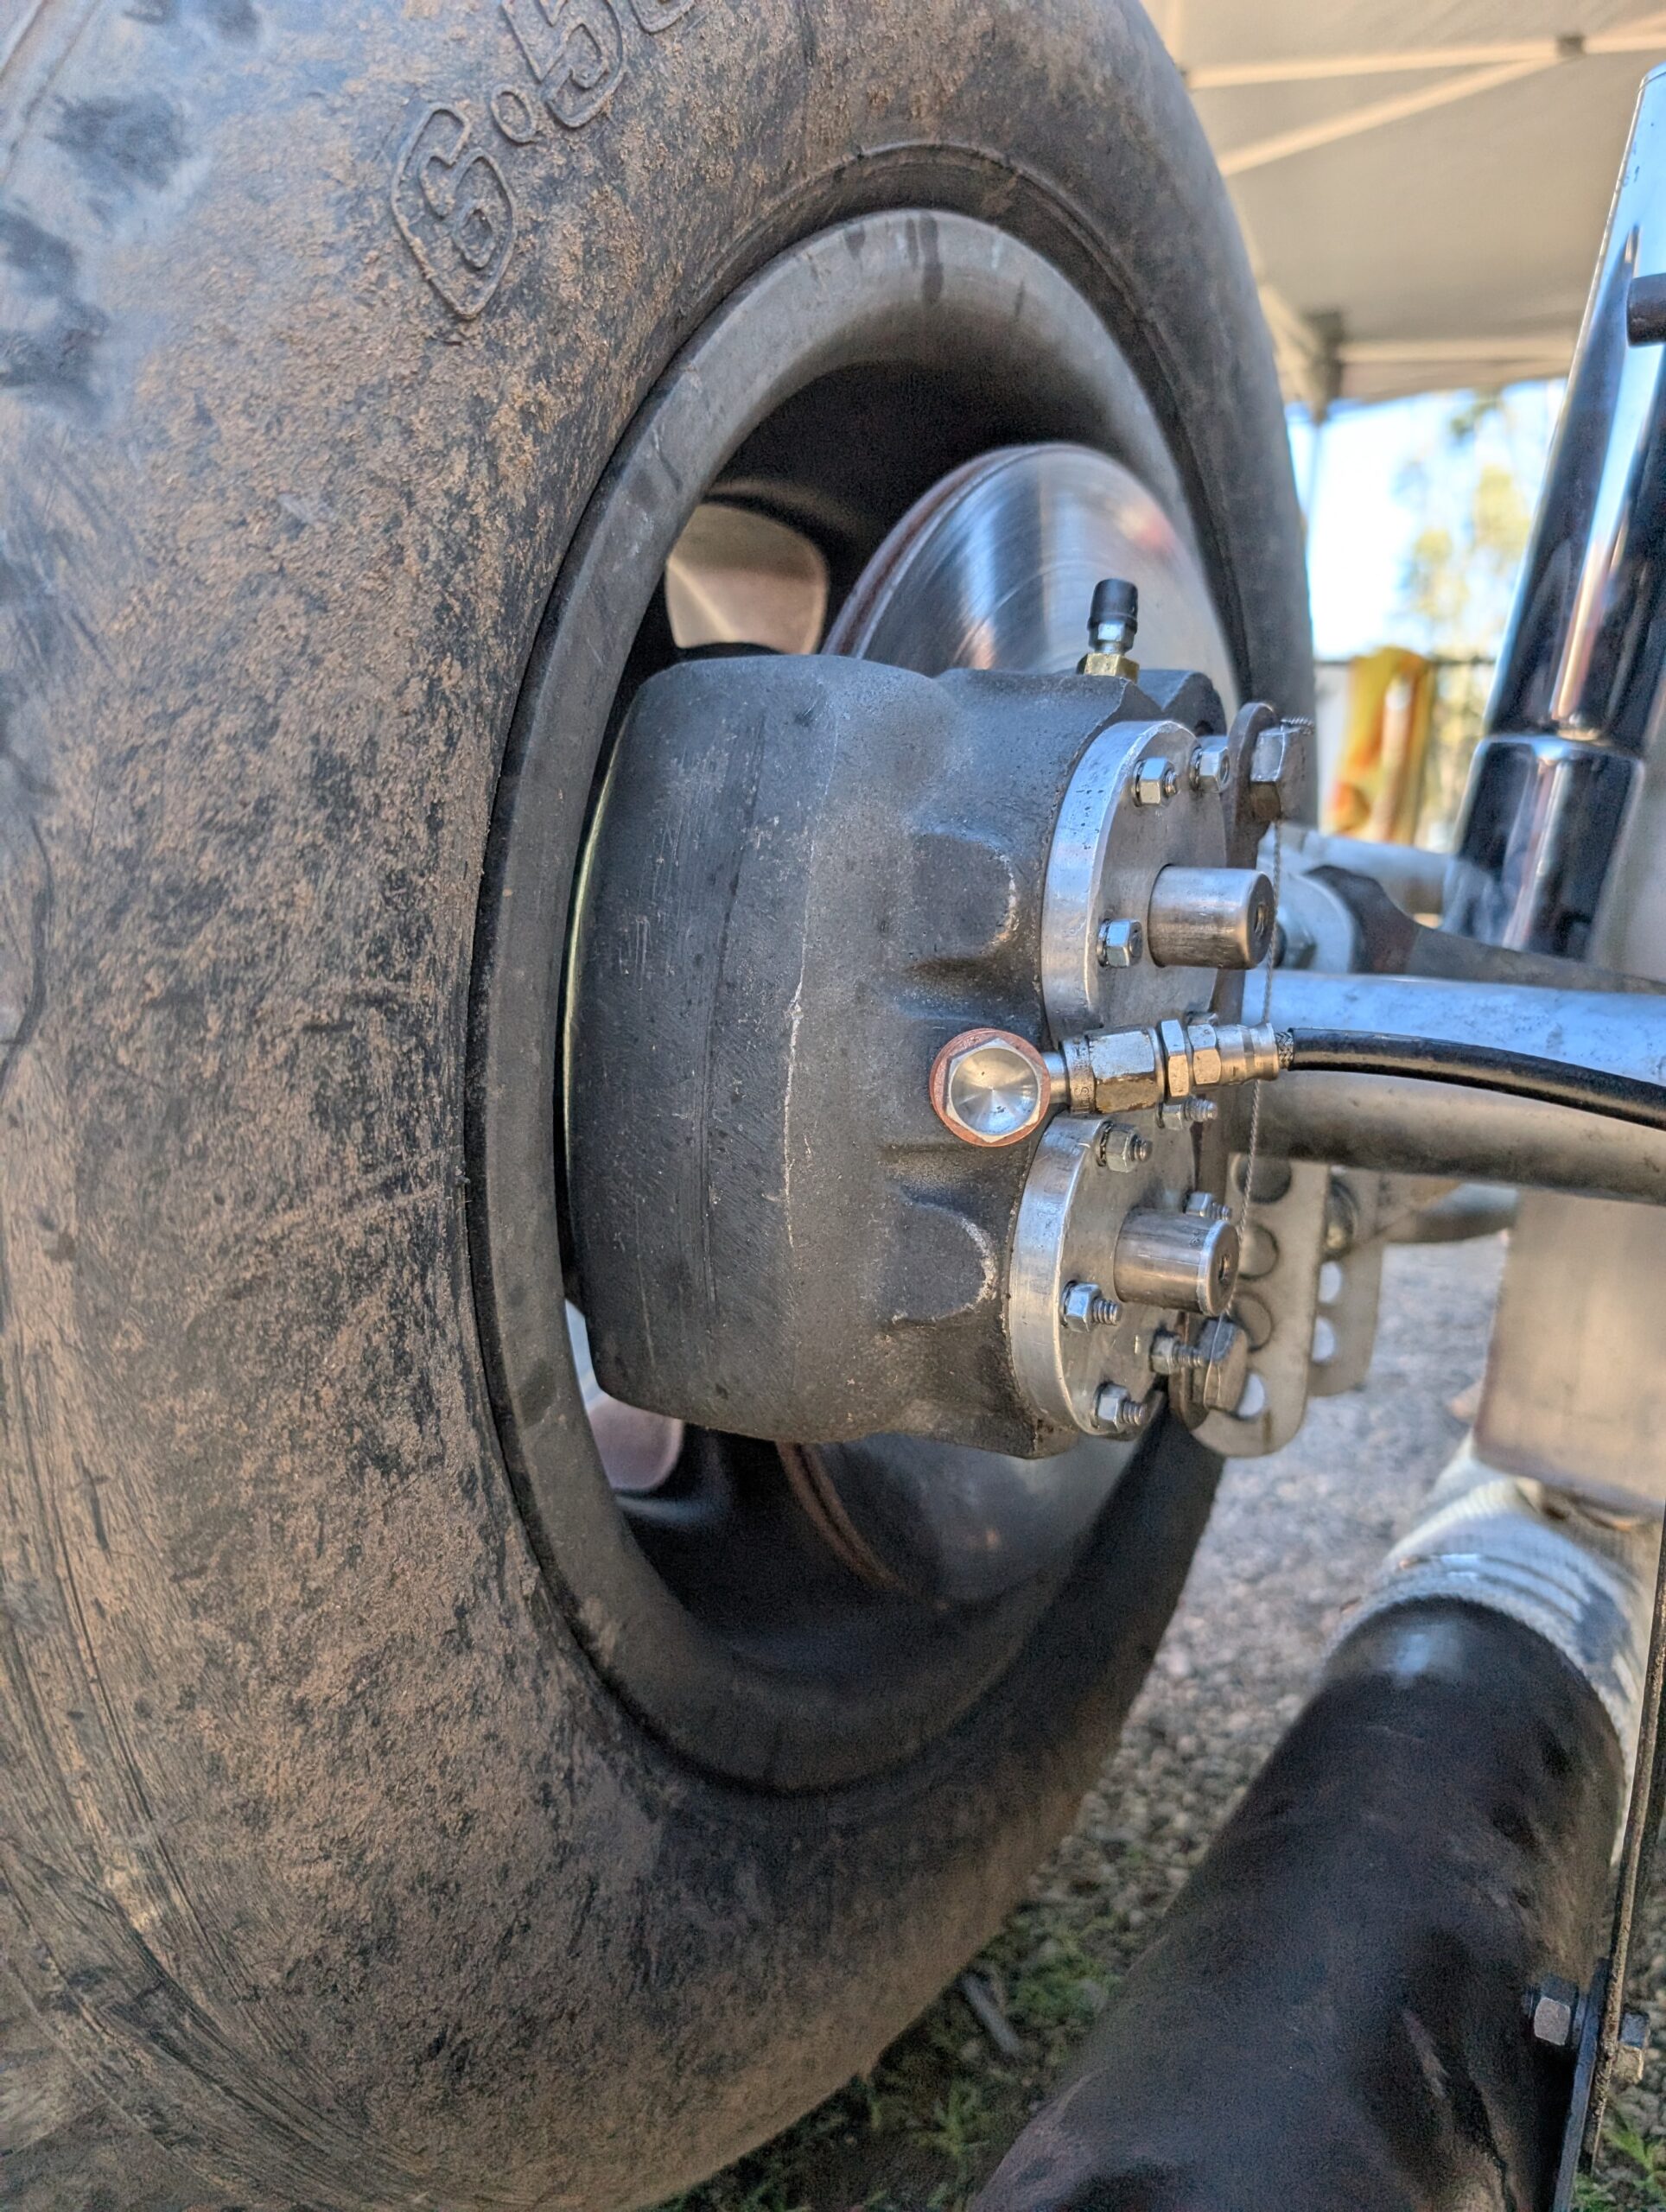
Come race day and it was satisfying to see both calipers behaving themselves and not leaking. We may have fixed the brake fluid leaks but he still had an engine oil leak on his hands. Racing these old cars means accepting frequent setbacks. Even so, our customer was pleased, enjoying a fantastic weekend and beating his previous Winton lap record set in a family friends MG-Holden, by 3 seconds with a 1:36:1955. The lap record is held in Group L – Pre 1960 Sports and Racing Cars. No doubt, with a good 12-months of further development and tuning he’ll be back out there next year at Winton to break the record again…He’s a madman!
In Summary
It is important to learn from unique jobs like this. Sometimes it’s not about making money on this sort of work. In-fact we were working at a loss in the end. However, we gained further experience and knowledge, which is priceless. The rears had so many red flags from the start that we really should’ve advised the customer to find a new set. But where does one get a new set from? We couldn’t help ourselves either, we enjoy a challenge, it helps us stretch our combined 100 years of automotive parts, fabrication and engineering knowledge. By doing jobs like this, we learn new skills and prove our own theories and practices in the world of brake remanufacturing.
Like and follow us to keep up with the latest product releases, news and technical articles.
Contact Form
"*" indicates required fields
Get in Touch
"*" indicates required fields